

Introduction
KSeF (Krajowy System e-Faktur) 2.0 is Poland’s mandatory national e-invoicing system operated by the Ministry of Finance. Before you can issue invoices through KSeF on behalf of a party (supplier), the party must be registered with the KSeF system. In this guide you’ll learn how to register a party using the Poland app. Once a party is registered, continue with the companion guides: Poland: Issuing invoices and Poland: Receiving invoices.Prerequisites
To register a party with KSeF, you will need:Setup
All of the following steps must be carried out from the Invopop Console.1
Connect the Poland app
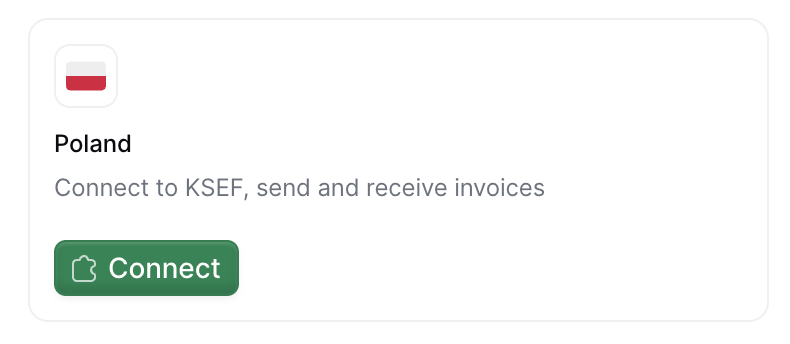
- Navigate to Configuration → Apps
- Find Poland in the app discovery list
- Click Connect to activate
2
Configure the party registration workflow
This workflow registers a party in KSeF so you can issue invoices on their behalf.
There is also a send & receive variant of this workflow that additionally subscribes the party to periodic invoice imports via the Cron app. It is covered in the receiving invoices guide.
- Test: Self-signed certificate generated automatically, no manual steps required.
- Demo: Requires manual certificate generation from the demo portal.
Test is more convenient while Demo more accurately simulates the production environment. It is convenient to create two workflows configured differently to easily switch between the Demo and Test options.
KSeF party registration workflow (send)
Add to my workspace →
- Workflow
- Code
Running
In this section, we’ll provide details on how to register parties (suppliers) in the test, demo, and production environments.Register a party for test environment
Choose test mode when you want to quickly test the KSeF integration without dealing with real certificates or authentication. Certificates are generated automatically, allowing you to start sending invoices immediately without any manual certificate generation.
1
Create the party
In the Invopop Console, navigate to Parties → Suppliers and click + New Supplier.Use fake Polish Tax IDs (NIP) generated from http://generatory.it/:Click Build, ensure there are no errors, and click Save.
2
Run the workflow
In the party entry, click on Select Workflow, choose your KSeF Register Party (Test) workflow, and click Run Workflow.That’s it! ✓ Registration completes automatically. The party is now in Registered state and ready to issue invoices.
Register a party for demo/production environment
In sandbox workspaces, choose Demo mode when you want to simulate the real production flow with KSeF authentication in a safe demo environment.
1
Create the party
Use real Polish Tax IDs (NIP) with access to the KSeF Demo Portal or KSeF Portal:Click Build, ensure there are no errors, and click Save.
2
Run the workflow
On the party details page, click Select Workflow:
- For Demo: Choose your KSeF Register Party (Demo) workflow
- For Production: Choose your KSeF Register Party (Production) workflow
3
Access the registration link
Get the registration link to begin certificate generation:Your own company
In Console, go to the supplier entry → Meta tab → click the gov-pl.invopop.com link to launch the registration wizard.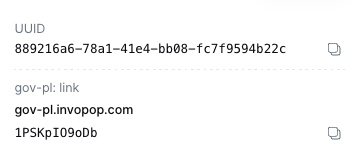
Add a webhook after the Register supplier with KSeF step to receive theSend the
In Console, go to the supplier entry → Meta tab → click the gov-pl.invopop.com link to launch the registration wizard.
Add a webhook after the Register supplier with KSeF step to receive the
siloEntryId.Use the Fetch an Entry endpoint to get the registration link from the meta object:link_url to your customer.4
Generate a certificate in KSeF portal
The registration wizard will guide you through these steps:
-
Visit the KSeF portal
- Demo: KSeF Demo Portal
- Production: KSeF Portal
- Log in with Trusted Profile (Profil Zaufany)
-
Generate the certificate
- Navigate to certificate generation section
- Enter certificate name and password (save the password!)
- Download the private key (automatically generated)
- Select “Authentication in the KSeF system”
- Set start date to today or earlier (future dates will fail)
- Download the certificate file
- Video tutorial: Certificate generation
5
Upload certificate to Invopop
There are two ways to upload the certificate:Web Upload (Wizard)
Return to the registration wizard and upload: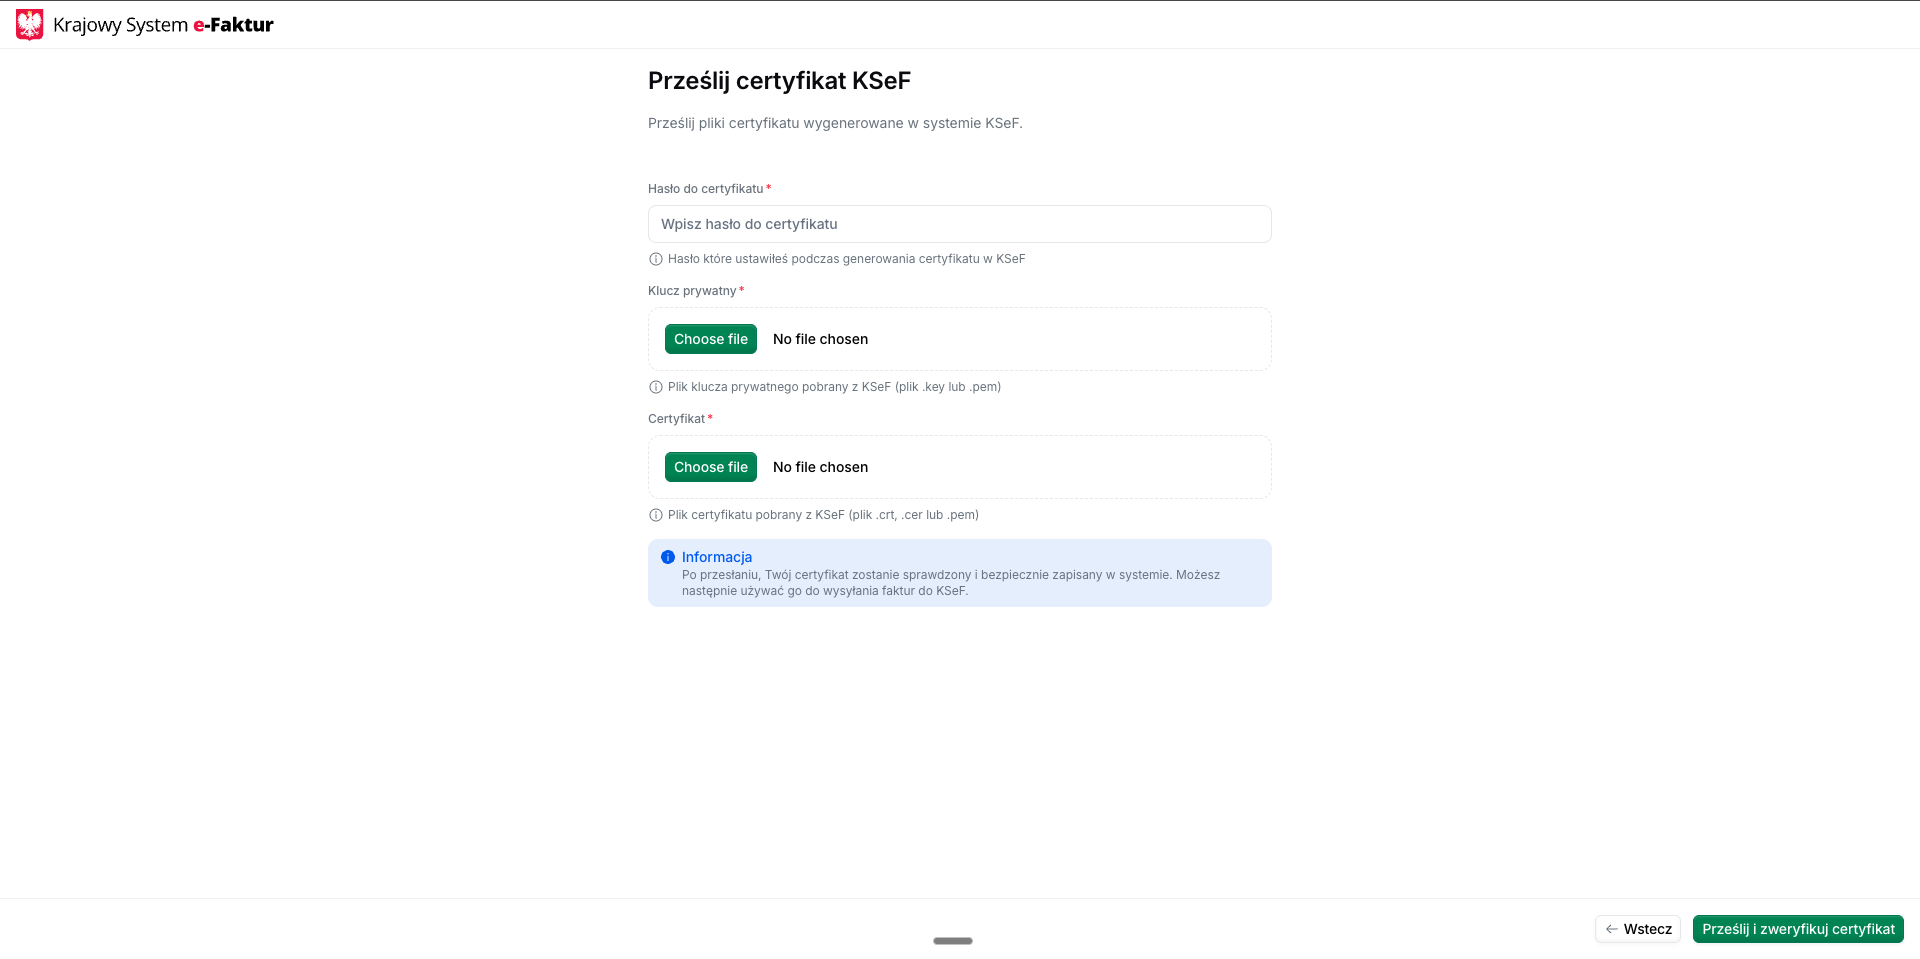
Upload the certificate programmatically using the Upload KSeF certificate endpoint.✓ Success: The supplier transitions to Registered state and can begin issuing invoices.
× Failure: See Why did my supplier registration fail? in Poland’s FAQ.
Return to the registration wizard and upload:
- Certificate file
- Private key file
- Password
Upload the certificate programmatically using the Upload KSeF certificate endpoint.
This approach is ideal for automated integrations where you want to handle certificate generation and upload programmatically without user interaction with the web wizard.
FAQ
Why did my supplier registration fail?
Why did my supplier registration fail?
Common reasons for registration failures:
- Certificate and private key mismatch: Ensure you uploaded both files from the same certificate generation
- Incorrect password: Verify the password matches what you set during certificate generation
- Future start date: Certificate start date must be today or in the past
- Wrong portal environment: Demo certificates won’t work with production, and vice versa
- File encoding issues: For API uploads, ensure files are properly base64-encoded
- Expired certificate: Check that the certificate is still valid
- Invalid NIP: Verify the Polish Tax ID is correct and has access to KSeF
Check the workflow error logs in the Invopop Console for detailed error messages that can help diagnose the specific issue.
I don't have a Polish NIP for testing. How can I get one?
I don't have a Polish NIP for testing. How can I get one?
For sandbox testing:
- Test mode: Generate fake NIPs at http://generatory.it/. These work immediately with self-signed certificates.
- Demo mode: You need a real NIP with access to the KSeF Demo Portal.
How do I onboard a new supplier in Poland?
How do I onboard a new supplier in Poland?
Choose an environment (Test, Demo, or Production). Generate a KSeF certificate from the relevant portal (or use a self-signed cert in Test mode), upload it to Invopop with the matching password, and register the supplier through the KSeF Register Supplier workflow.
What certificates does KSeF require to authenticate a supplier?
What certificates does KSeF require to authenticate a supplier?
A KSeF certificate exported as PKCS#12 (.p12) with password, generated through the KSeF Application Portal (or auto-generated by Invopop in Test mode). The certificate must have InvoiceRead + InvoiceWrite permissions.
How are supplier credentials stored in Invopop for Poland?
How are supplier credentials stored in Invopop for Poland?
The KSeF certificate (PKCS#12 .p12 with password) is stored encrypted at rest. Invopop uses it to authenticate session creation with KSeF on the supplier’s behalf; the password is never returned in API responses.
🇵🇱 Invopop resources for Poland
🇵🇱 Invopop resources for Poland


Participate in our community
Ask and answer questions about invoicing in Poland →